If you’re thinking about automating your garage door, learning how to install garage door motor can save you time, money, and the hassle of unnecessary service calls. Whether you’re replacing an outdated opener or installing one for the first time, the process is manageable with the right tools and steps.
This detailed guide is created to walk you through every phase—from preparation to installation—ensuring a smooth and secure setup. If you’re in the New Braunfels area and prefer professional installation, New Braunfels Garage Door Repair is always ready to help with trusted and efficient service.
Why Learning How to Install Garage Door Motor Matters
Installing a garage door motor goes beyond convenience. A properly installed unit:
- Enhances safety and security
- Ensures quieter operation
- Adds smart home compatibility
- Reduces long-term wear on door components
By understanding the process, even if you don’t DIY, you’ll make smarter choices and communicate better with your service provider.
What You’ll Need Before You Begin
Before you begin installation, make sure you have the following tools and supplies ready:
- Garage door motor unit (with all parts)
- Power drill and bits
- Screwdrivers (flathead and Phillips)
- Level
- Stud finder
- Wrenches
- Ladder
- Measuring tape
- Safety glasses
- Mounting brackets (usually included in the motor kit)
It’s also important to read the manufacturer’s manual before starting—every model may have slight variations.
How to Install Garage Door Motor: Step-by-Step Instructions
Step 1: Check the Condition of the Garage Door
Before installing any opener, make sure your garage door is in good working order. It should open and close smoothly by hand. If it sticks or seems unbalanced, fix these issues first. A malfunctioning door can damage your new motor.
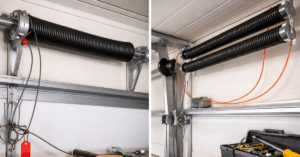
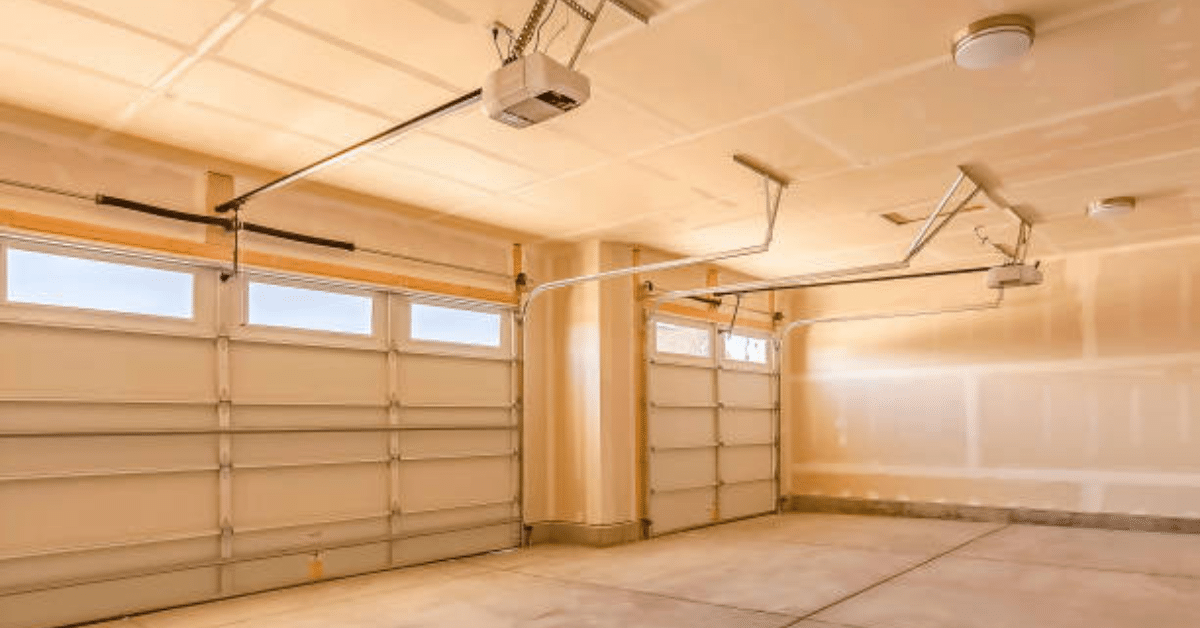
Step 2: Assemble the Motor Rail System
Unbox your garage door opener kit and begin assembling the rail. Follow the included instructions to connect the rail to the motor head and attach the chain or belt drive system. Install the trolley that travels along the rail, which will connect to the garage door.
Step 3: Install the Header Bracket
Locate the center point of your garage door and mount the header bracket above it. Use your stud finder to ensure it’s anchored into a solid wood support. This bracket holds the front end of the rail, so secure it tightly.
Step 4: Position the Motor and Rail Assembly
Lift the rail into place and attach it to the header bracket. Rest the motor at the other end on a ladder or temporary support while positioning it. Make sure the rail is perfectly level using a level tool to avoid strain during operation.
Step 5: Mount the Motor to the Ceiling
Use metal brackets to secure the motor to the ceiling. Attach the brackets to ceiling joists for a stable installation. The motor should hang level and should not wobble when activated.
Step 6: Attach the Trolley Arm to the Garage Door
Connect the straight and curved arms that come with the kit. Secure one end to the trolley and the other to the garage door. Ensure that the connection is firm but allows the door to open and close naturally with motor assistance.
Step 7: Install the Safety Sensors
Modern garage door openers include safety sensors to prevent accidents. Mount these on either side of the door, about 6 inches above the ground. Align them properly and wire them back to the opener unit. Make sure the indicator lights on both sensors are solid—blinking lights usually mean misalignment.
Step 8: Connect Controls and Power
Mount your wall control button in a convenient location near the entry door. Then, connect the control wiring from the motor to the wall unit and safety sensors. Plug the motor into a grounded power outlet—never use an extension cord.
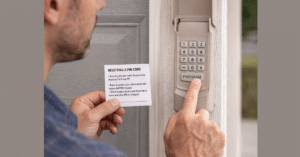
Step 9: Program the Opener Settings
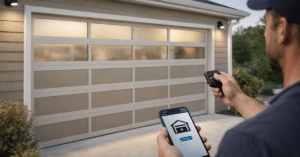
Follow the instructions to program the open and close limits and set up remote controls or keypads. Most newer units also allow for smartphone integration via apps like MyQ® or Aladdin Connect.
Test the system by opening and closing the door multiple times. If adjustments are needed, most openers include dials or buttons for fine-tuning.
Smart Tips for Better Installation Results
- Always wear safety glasses during installation
- Don’t overtighten bolts or screws—this can damage hardware
- Lubricate the opener rail for quieter operation
- Keep the manual nearby for quick reference
- Secure loose wires with clips to prevent tangles
If any part of the process seems unsafe or confusing, it’s best to call in a professional.
When to Hire a Garage Door Expert
While this guide explains how to install garage door motor, it’s important to know your limits. Call in a professional from New Braunfels Garage Door Repair if:
- The door is off-balance or has broken springs
- You’re unsure about electrical connections
- You want expert calibration and warranty protection
- You’re installing a smart opener and need proper Wi-Fi setup
We offer fast, reliable garage motor installations using top-tier brands and ensure everything is done right the first time.
Top Garage Door Motor Brands We Recommend
Choosing the right brand is just as important as the installation process. At New Braunfels Garage Door Repair, we trust and install some of the best garage door openers in the market, including:
- LiftMaster – Known for durability and smart home features
- Genie – Offers quiet and reliable belt-drive systems
- Chamberlain – Popular for DIY installations with app support
These brands are compatible with most garage doors and offer excellent customer support and warranties.
Garage Door Motor Maintenance Tips
Once your motor is installed, proper maintenance will help extend its lifespan and prevent costly repairs.
- Inspect and tighten mounting hardware annually
- Test the safety sensors monthly
- Replace backup batteries as needed
- Keep the rail and chain/belt lubricated
- Clear any obstructions from the door track
By following these practices, your motor will remain in top condition for years.
Final Thoughts: Why Learn How to Install Garage Door Motor
Understanding how to install garage door motor empowers homeowners to make informed decisions, whether doing it themselves or hiring professionals. A smooth, properly installed garage motor enhances convenience, security, and property value.
If you’re located in or around New Braunfels and need expert help with installation or replacement, trust the experienced team at New Braunfels Garage Door Repair. We specialize in garage door motors, offering affordable, fast, and dependable service.