Garage door sensors are critical safety features that prevent the door from closing when an obstruction is detected. If your garage door won’t close properly or reverses unexpectedly, the sensors may be the culprit. Understanding how to repair garage door sensors can save you from unnecessary service calls and keep your home safe. In this detailed guide, you’ll learn the causes of sensor failure, the tools you need, and a complete step-by-step repair process.
Understanding Garage Door Sensors
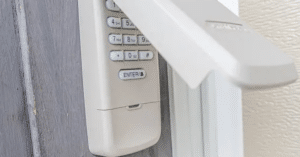
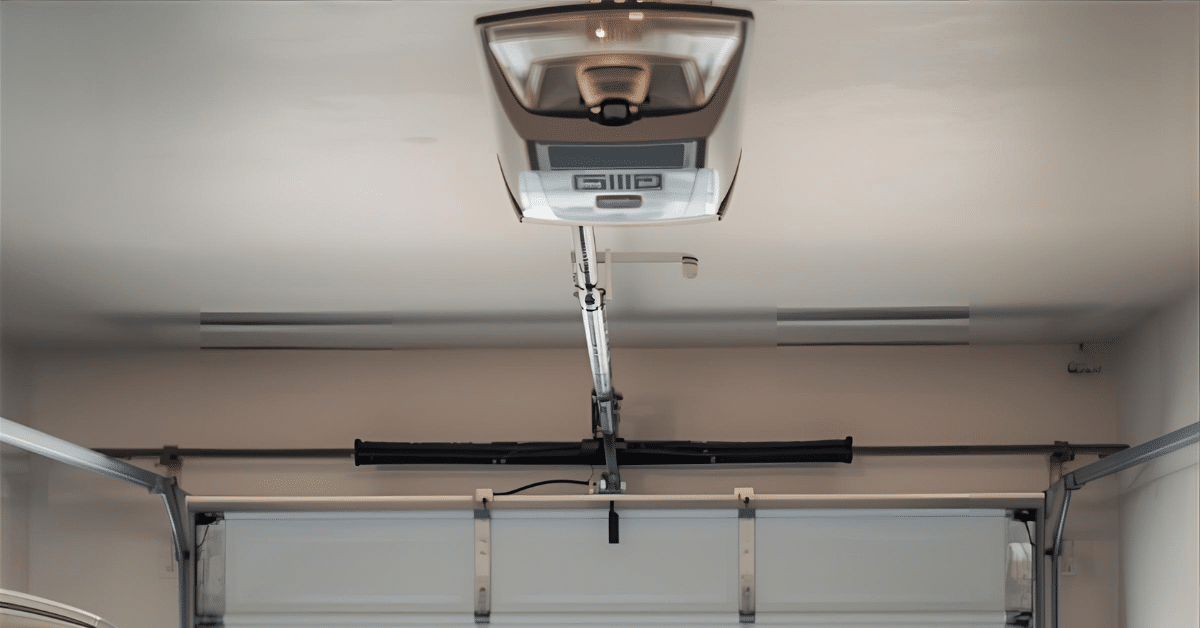
Before starting the repair, it’s important to know how garage door sensors work. These sensors, usually located near the bottom of the door tracks, use an infrared beam to detect obstacles. When the beam is blocked or disrupted, the door will not close to prevent accidents. Learning how to repair garage door sensors involves identifying the exact issue—whether it’s misalignment, dirty lenses, or wiring problems.
Key Components of Garage Door Sensors
- Transmitter Sensor: Sends the infrared beam across the door opening.
- Receiver Sensor: Detects the beam and signals the opener to close the door.
Both sensors must be clean, aligned, and connected properly for the system to function.
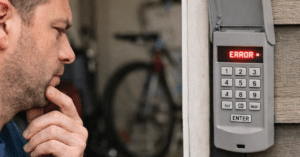
Common Signs of Faulty Garage Door Sensors
Recognizing the symptoms of sensor problems is the first step in knowing how to repair garage door sensors effectively. Look for these warning signs:
- The garage door won’t close and reverses immediately.
- Indicator lights on the sensors are blinking or off.
- The door closes partially but stops or reopens.
- Your opener flashes a warning light.
These signs indicate that one or both sensors need attention.
Safety Precautions Before Repair
Working with garage door systems requires caution. Follow these safety steps to avoid injury or damage:
- Turn Off Power: Disconnect the garage door opener to prevent accidental activation.
- Clear the Area: Remove objects from the door’s path.
- Wear Protective Gear: Safety gloves and glasses protect against debris or accidental contact.
Taking these measures ensures a safe repair process when learning how to repair garage door sensors.
Tools and Materials You’ll Need
Prepare these tools and supplies before starting the repair:
- Soft cloth or microfiber towel
- Screwdriver or adjustable wrench
- Level or laser level
- Mild cleaning solution
- Replacement wires or sensor brackets (if necessary)
Having the right equipment makes the repair faster and more efficient.
Step-by-Step Guide on How to Repair Garage Door Sensors
Follow these detailed steps to fix common sensor problems and restore proper functionality.
Step 1: Inspect the Sensors
Check both sensors for obvious damage or dirt buildup. Dust, cobwebs, or debris can block the infrared beam. Use a soft cloth to gently clean the sensor lenses.
Step 2: Check Sensor Alignment
Misaligned sensors are the most common cause of malfunction. Use a level to ensure both sensors are facing each other directly. Adjust their brackets if necessary until the indicator lights stop blinking.
Step 3: Examine the Wiring
Faulty or loose wiring can disrupt the signal between sensors. Inspect the wires for frays, cuts, or disconnections. Tighten any loose connections and replace damaged wires if needed.
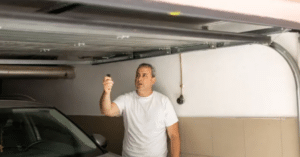
Step 4: Test the Sensors
Reconnect the power and test the garage door. If the sensors are aligned and clean, the door should close smoothly. If the problem persists, proceed to further troubleshooting.
Step 5: Replace the Sensors (If Necessary)
If cleaning and aligning do not solve the issue, the sensors may be defective. Replace them with compatible models following the manufacturer’s instructions.
Additional Troubleshooting Tips
When learning how to repair garage door sensors, these extra tips can help:
- Ensure there is no direct sunlight interfering with the sensors.
- Check for moisture buildup, especially after rain.
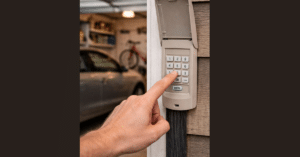
- Inspect the opener settings to confirm sensor recognition.
Small details like these can make a big difference in successful repairs.
Common Mistakes to Avoid
Avoid these pitfalls while repairing your garage door sensors:
- Over-tightening the sensor brackets, which may misalign the beam.
- Using harsh chemicals to clean the lenses, which can cause scratches.
- Ignoring blinking lights, which often indicate a wiring or alignment issue.
By avoiding these mistakes, you can extend the lifespan of your sensors and maintain safe operation.
When to Call a Professional
While many sensor problems are simple to fix, some situations require expert help. Call a professional if:
- The opener’s circuit board shows errors you can’t diagnose.
- Both sensors appear fine but the door still won’t close.
- You’re uncomfortable handling electrical components.
A trained technician can handle complex repairs safely and efficiently.
Preventive Maintenance Tips
Knowing how to repair garage door sensors is helpful, but regular maintenance reduces the need for frequent fixes:
- Clean Monthly: Wipe the sensor lenses regularly to prevent dust accumulation.
- Check Alignment: Inspect sensor brackets every few months for accidental shifts.
- Protect Wires: Keep wires secured and away from pets or lawn equipment.
These simple habits ensure reliable performance year-round.
Final Thoughts
Garage door sensors are vital for safety and convenience, and understanding how to repair garage door sensors can save you time and money. Whether it’s cleaning, realigning, or replacing faulty wiring, following these steps ensures your garage door functions smoothly. Regular inspections and preventive care will help you avoid future problems and maintain a secure, efficient garage door system.