If you’ve recently installed a new keypad or your old one stopped working, you might be wondering how to program garage door keypad systems correctly. The good news is that you can program a garage door keypad much more easily than it sounds.
With just a few steps, you can set up your keypad, choose a secure code, and enjoy convenient access to your garage without needing a remote. Whether you’re a beginner or a homeowner trying to fix things yourself, this guide will walk you through everything in a clear and easy way.
Why You Need to Program a Garage Door Keypad
Programming your keypad is essential for it to communicate with your garage door opener. Without proper setup, the keypad won’t be able to send signals to open or close the door.
Additionally, when you program garage door keypad, you create a unique PIN that ensures only authorized users can access your garage. This adds an extra layer of security to your home.
It’s also important when you replace a keypad, reset your system, or move into a new house.
How to Change the Code on a Garage Door Keypad
How Garage Door Keypads Work
Before jumping into the steps, it helps to understand how keypads function.
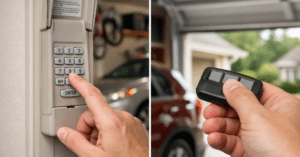
A keypad is a wireless device that sends a signal to your garage door opener when you enter a PIN. Most modern systems use rolling code technology, which changes the signal every time for added security.
During garage door keypad setup, the keypad is synced with the opener so both devices recognize each other.
Things You’ll Need Before You Start
Preparation makes the process smoother.
Make sure you have access to your garage door opener motor unit. You’ll also need a ladder to reach it safely. Keep your keypad manual nearby, as different brands may have slight variations.
Most importantly, decide on a secure PIN in advance. This will save time during programming.
Step-by-Step Guide to Program Garage Door Keypad
Now let’s go through the exact garage keypad programming steps. These steps apply to most major brands like Craftsman, LiftMaster, Chamberlain, and Genie.
Step 1: Locate the Learn Button
- To begin, find the Learn button on your garage door opener. It’s usually located on the back or side of the motor unit.
- The button may be labeled “Learn” or come in colors such as yellow, red, purple, or green.
- This button is the key to starting the program garage door keypad process.
Step 2: Activate Programming Mode
- Press and release the Learn button. You’ll see an LED light turn on, indicating the opener is ready to accept new programming.
- You typically have about 30 seconds to complete the next step, so move quickly.
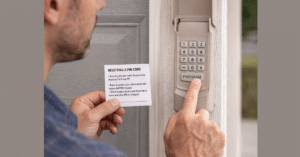
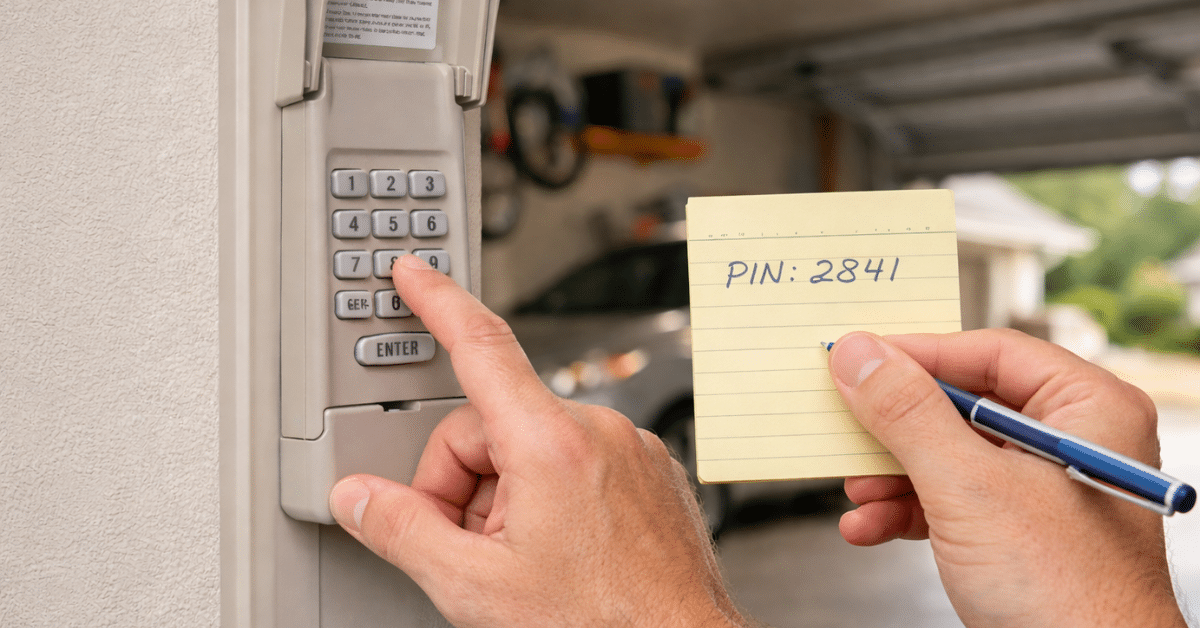
Step 3: Enter Your Desired PIN
- Go to your keypad and enter your chosen PIN. Make sure it’s something secure but easy for you to remember.
- Avoid simple combinations like “1111” or “1234.” Instead, use a unique sequence.
- After entering the PIN, press the Enter button.
Step 4: Wait for Confirmation
- If the programming is successful, the garage door opener light will blink, or you may hear a clicking sound.
- This confirms that the keypad and opener are now synced.
Step 5: Test the Keypad
- Finally, test your keypad by entering the PIN and pressing Enter.
- If the door opens or closes, your garage door keypad setup is complete. If not, repeat the steps carefully.
How to Set Garage Keypad Code for Maximum Security
Choosing the right code is just as important as programming the keypad.
When you know how to set garage keypad code, avoid using easily guessed numbers like birthdays or repeating digits. Instead, choose a random combination that only you know.
Additionally, change your code every few months to maintain security. This simple habit can significantly reduce the risk of unauthorized access.
Garage Door Keypad vs Remote: Which One Is Better?
Programming a Keypad Without the Learn Button
In some cases, you may not have access to the Learn button, especially with older systems. For these models, you may need to use DIP switches or follow specific manufacturer instructions. This process involves matching the keypad settings with the opener manually. Although it’s slightly more complex, it’s still manageable with the right guidance.
Common Mistakes During Garage Keypad Programming
Even though the process is simple, a few common mistakes can cause issues. One major mistake is missing the 30-second programming window after pressing the Learn button. Timing is crucial. Another issue is entering the wrong PIN or pressing the wrong sequence of buttons. Lastly, weak batteries can interfere with programming. Always ensure your keypad has fresh batteries before starting.
Troubleshooting Wireless Keypad Programming Issues
If your keypad isn’t working after programming, don’t worry. Most problems are easy to fix.
First, check the battery. A weak battery can prevent proper communication.
Second, ensure you followed the steps correctly and within the time limit.
Third, confirm that your keypad is compatible with your garage door opener.
If needed, reset the system and start the wireless keypad programming process again.
How to Reset Your Garage Door Keypad
If programming fails repeatedly, resetting the system can help.
- Press and hold the Learn button on your opener for about 6–10 seconds until the LED light turns off. This clears all stored codes.
- After resetting, you’ll need to reprogram your keypad and any remotes.
This step is especially useful when dealing with persistent issues.
Tips for Smooth Garage Door Keypad Setup
To ensure a smooth setup, keep these tips in mind. Always stand close to the opener when programming. Distance can affect signal strength. Work in good lighting so you can see the buttons clearly. Follow each step carefully without rushing. These small details can make the entire process much easier.
Maintaining Your Garage Door Keypad
Once your keypad is programmed, proper maintenance ensures long-term performance.
Replace the battery at least once a year or when you notice reduced responsiveness.
Clean the keypad regularly to prevent dirt buildup.
Check for worn-out buttons and replace the unit if necessary.
A well-maintained keypad will work reliably for years.
When to Replace Your Garage Door Keypad
Sometimes, programming won’t fix the issue.
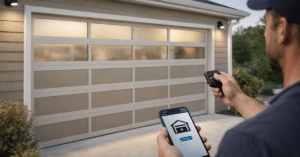
If your keypad is old, unresponsive, or damaged, replacing it may be the best option. Modern keypads are more reliable and easier to program.
Upgrading can also improve security with advanced features like rolling code technology.
Conclusion
Learning how to program garage door keypad systems is a valuable skill for any homeowner. With just a few simple steps—locating the Learn button, entering a PIN, and testing the setup—you can enjoy convenient and secure access to your garage.
By following this guide and avoiding common mistakes, you can complete the process quickly and confidently. Regular maintenance and smart security practices will ensure your keypad continues to perform at its best.
FAQs
Q1. How long does it take to program a garage door keypad?
A: It usually takes about 5–10 minutes if you follow the steps correctly.
Q2. Can I program multiple keypads to one opener?
A: Yes, most garage door openers support multiple keypads and remotes.
Q3. What should I do if my keypad won’t program?
A: Check the battery, ensure correct timing, and verify compatibility with your opener.
Q4. Do I need professional help to program a keypad?
A: No, the process is simple and can be done at home without professional assistance.
Q5. How often should I change my keypad code?
A: It’s recommended to update your code every 3–6 months for better security.