A garage door torsion spring plays a vital role in balancing the door’s weight, allowing it to open and close smoothly. When the spring breaks, your garage door may feel heavy, stop working, or even become unsafe. If you’ve noticed this problem, learning how to replace garage door torsion spring correctly can help restore your door’s function and safety.
However, replacing a torsion spring involves risks due to high tension, so safety precautions and the right tools are essential before you start.
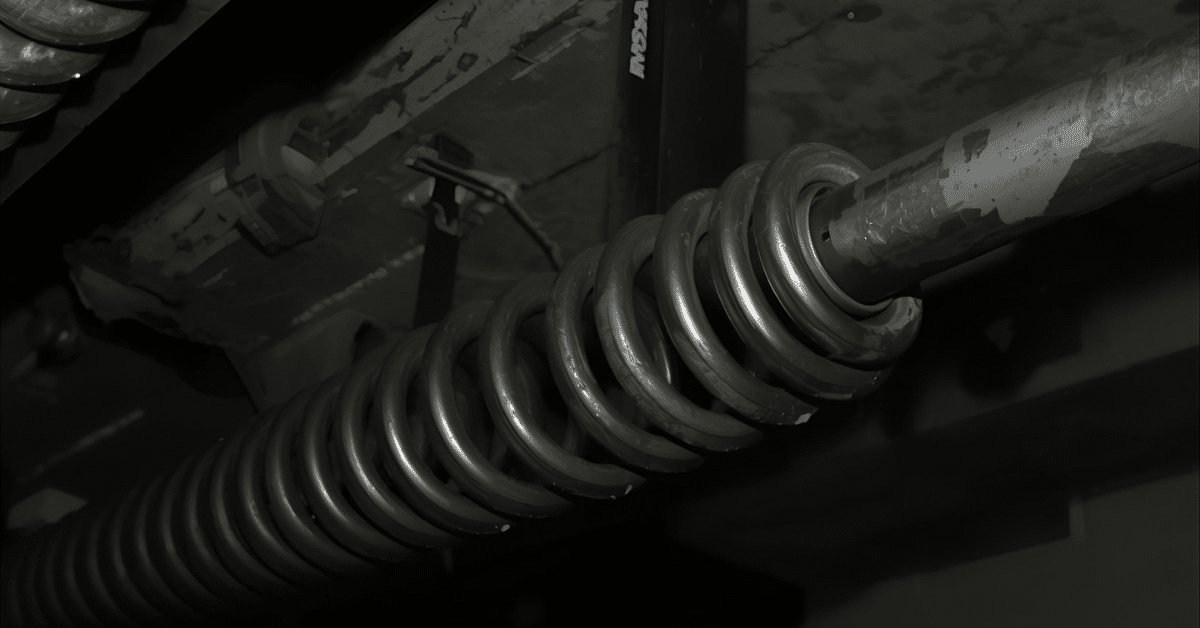
Understanding the Role of the Torsion Spring
Before diving into the replacement steps, it’s important to understand what the torsion spring does. This spring sits above your garage door and stores mechanical energy when the door closes. When you open the door, it releases that energy to help lift the door easily.
Over time, due to frequent use, the spring loses tension or breaks completely. Knowing how to replace garage door torsion spring yourself can save money, but safety should always come first.
Signs You Need to Replace the Torsion Spring
Recognizing the warning signs early can prevent accidents or further damage. Common signs include:
- The garage door feels heavier than usual.
- The door won’t open all the way or gets stuck.
- You hear a loud bang from the garage.
- The spring appears stretched or broken.
- The door slams shut quickly instead of closing gently.
If you experience any of these, it’s time to learn how to replace garage door torsion spring or call a professional for help.
Safety Precautions Before You Begin
Torsion springs are under extreme tension and can cause serious injury if handled improperly. Always follow these precautions:
- Disconnect power to your garage door opener.
- Unplug the opener and ensure the door is in a closed position.
- Wear protective gear, including gloves and eye protection.
- Use winding bars—never screwdrivers—to release spring tension.
- Make sure your ladder is stable before climbing.
Taking these steps ensures your safety while you work on the garage door torsion spring replacement.
Tools You’ll Need
To successfully perform the task, gather these essential tools:
- Two winding bars
- Adjustable wrench
- Locking pliers
- Socket set
- Tape measure
- New torsion spring
- Lubricant spray
Having everything ready will make replacing your garage door torsion spring faster and smoother.
Step-by-Step Guide: How to Replace Garage Door Torsion Spring
Step 1: Identify the Right Replacement Spring
Measure the existing spring’s length, inside diameter, and wire size. The direction of wind (left or right) also matters. Always replace both springs if your door uses two—this ensures balanced performance.
Step 2: Secure the Door
Clamp locking pliers on the track just above the rollers to keep the door from moving. This step is crucial before you release any tension.
Step 3: Unwind the Old Spring
Insert a winding bar into the winding cone and carefully loosen the screws. Hold the bar tightly as you slowly unwind the spring one quarter-turn at a time. Repeat until all tension is released.
Step 4: Remove the Old Spring
Once the tension is fully released, slide the spring off the torsion bar. Remove the center bearing and cable drums carefully.
Step 5: Install the New Spring
Slide the new torsion spring onto the bar, ensuring the correct orientation. Reattach the center bearing and cable drums, then secure the set screws firmly.
Step 6: Wind the New Spring
Using winding bars, turn the new spring in the opposite direction of the unwinding process. Follow the manufacturer’s recommended number of turns for your specific door height.
Step 7: Test the Door Balance
After tightening everything, remove the clamps and lift the door manually. The door should stay halfway open without falling or rising. If it doesn’t, adjust the spring tension slightly.
When to Call a Professional
While knowing how to replace garage door torsion spring can save money, not everyone should attempt it. If you feel unsure or lack proper tools, it’s best to call a garage door repair expert. Professionals have the experience and safety equipment to handle high-tension springs safely.
Maintenance Tips After Replacement
Once your new torsion spring is in place, regular maintenance will extend its life:
- Lubricate the spring every few months.
- Inspect for rust or corrosion regularly.
- Tighten loose bolts and brackets.
- Avoid using harsh chemicals on the spring.
- Test door balance twice a year.
Following these steps will ensure your garage door torsion spring lasts longer and performs smoothly.
Common Mistakes to Avoid
- Trying to replace the spring with improper tools.
- Forgetting to disconnect the power before starting.
- Skipping safety gear, increasing injury risk.
- Installing mismatched springs that affect balance.
- Over-tightening or under-tightening the spring.
Avoiding these errors can save time, money, and prevent dangerous situations.
Conclusion
Learning how to replace garage door torsion spring can help you maintain your garage door’s functionality and avoid costly repairs. With the right tools, safety precautions, and patience, it’s possible to do it yourself. However, if you’re unsure, calling a qualified technician is the safest and most reliable choice.
FAQs About Garage Door Torsion Springs
Q1: How long do garage door torsion springs last?
A: Most torsion springs last around 7–10 years or approximately 10,000 cycles of opening and closing.
Q2: Can I open my garage door if the torsion spring is broken?
A: It’s not recommended. Operating the door with a broken spring can damage the opener or cause injury.
Q3: How much does it cost to replace a garage door torsion spring?
A: On average, professional replacement costs between $150–$300, depending on the spring type and labor.
Q4: Can I replace only one torsion spring?
A: If your door has two springs, it’s better to replace both for balanced tension and smoother operation.
Q5: What happens if the torsion spring breaks suddenly?
A: You may hear a loud bang, and the door may become heavy or stop working entirely. Always inspect and replace immediately.